Summary
Assessments are captured manually (on paper form) on-site and later manually entered to the AuctionsPlus platform via the dedicated Assessment Entry interface. Double handling of data can be time consuming and introduces the potential of manual error.
LiveAssess is a mobile solution designed to allow the assessor to capture assessment data on-site, and then automatically load that data to the AuctionsPlus platform. This document offers simple guidance through the following phases.
Video tutorials can be found at the start of each section, the full playlist can also be found here: LiveAssess Tutorials (YouTube)
Synching Captured Data to Assessment Entry
Watch the 1 min 40 secs video below for a hands-on tutorial on how to sync to assessment entry.
Step 1 - When do I need to sync data?
Upon completion of an assessment job, the data captured crush-side is made available for creation of an assessment on the AuctionsPlus Assessment Entry portal.
📝 For more information on how to create an assessment via LiveAssess, please see our Help Article: How do I capture crush-side assessment data (via template) on LiveAssess?
If the data was captured by a mobile device either either mobile connectivity, or otherwise connected to the Internet, the data will sync automatically.
In those (not uncommon) circumstance where the mobile device does not have internet connectivity, LiveAssess will store all data and media on the device for later sync.
Once connection is restored. (E.g., When back in the office), the assessor will need to manually sync.
Step 2 - Sync data
To do a manual sync, first ensure that you have Internet connection on your device.
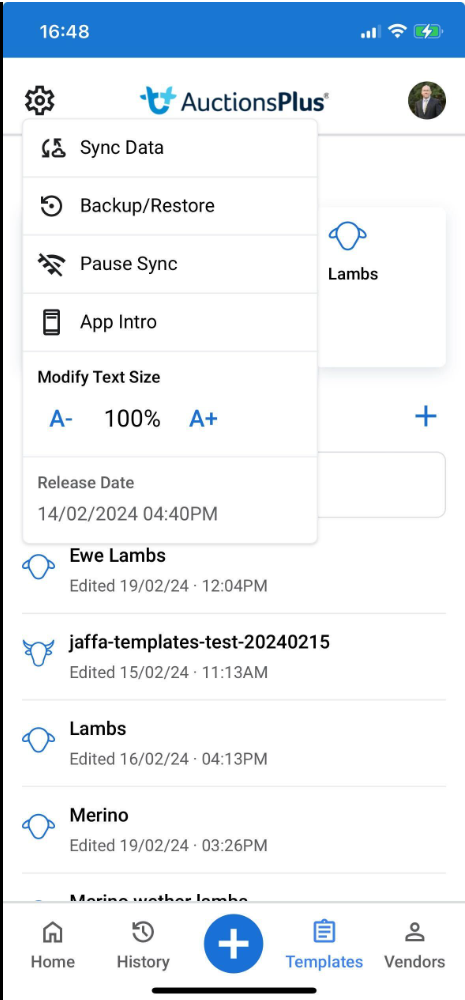
Then, click on the "⚙️" icon, located on the top left of the home screen.
A menu will display, allowing you to select "Sync Data", as shown below.
Select "Sync Data" to begin the manual sync.
Step 3 - Confirming sync is complete
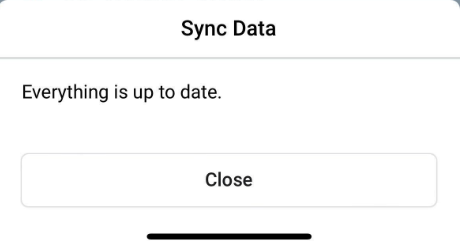
Once the sync is complete, you will see the "Everything is up to date" confirmation.
Click on "Close" to exit this message.
..still having issues?
We are here to help.
If you require any further assistance, please reach out to us via our Contact Us page.